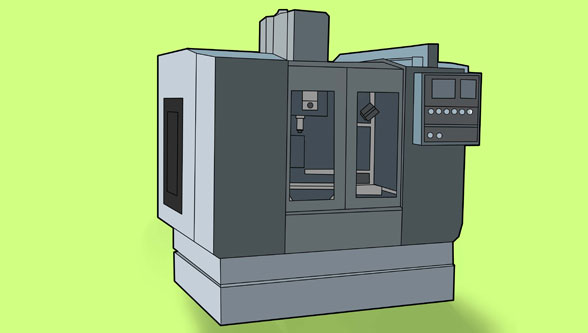
Are you looking to get the most out of your new — or new-to-you — CNC machine? We think newer initiates as well as industry veterans can benefit from the following six tips for effective CNC machine setup.
Begin With a Clean Machine
This may be one of those CNC machine setup tips that doesn’t need repeating. Let’s repeat it anyway.
Cleaning your essential equipment on a regular basis is a matter of safety, product quality and machine longevity. CNC machines are built tough, but the buildup of grit, oils and debris in their more delicate components takes time off the useful life of your equipment and its parts.
As far as product quality goes, letting grease and oil compound over the course of several jobs can cause your workpieces to move around unexpectedly, compromising the accuracy of the machining or milling work. It might also mean having the workpiece ejected from the machine mid-job.
Check Your Chuck Jaws
It’s a good idea to check, and then double-check, the pressure settings of your chuck jaws. Here are just two reasons why this should be a CNC machine setup priority:
- If you want to get the longest possible life out of your chucks, you need to learn how to dial in the right setting for your workpieces each time. Choosing a setting that’s too tight is a good way to cut your chuck’s life short.
- Choosing the right clamping force is absolutely a matter of safety. You may know of a case yourself where a machinist was struck by a flying piece of material that hadn’t been securely fastened between the jaws.
Making this adjustment requires simple tools — usually an Allen wrench — but it also takes practice. There should be enough force on the workpiece that it won’t move, but not so much that it’s deformed by the pressure.
Reconsider Your ‘Sacrificial Block’ Material
In CNC machining, the sacrificial block is chosen to absorb any over-cutting so that it doesn’t damage the equipment underneath.
Not all sacrificial blocks are made equal, though. Choose a block or plate material that’s sufficiently heavy to mitigate vibration throughout the machine. It’s possible your machine came with a plate made of heavy plastic, but many machinists swap these out with aluminum to make sure there isn’t any unnecessary movement or “jitter” while the machine is in motion.
If you’re concerned about achieving optimal over-cutting results, choose a sacrificial block made from the same material as your workpiece and consider adding an acrylic block as the final layer in your sacrificial block “sandwich.”
Apply Cutting Fluid as Needed Based on Machine and Workpiece
If the machining project you’re attempting involves a hard material, it’s in your best interests to apply a cutting fluid to the cutting tool. Keep in mind that the hardness of the material is relative to the power rating of your equipment. For example, some higher-powered CNC machines might consider aluminum a soft material, while lower-powered machines might have a harder time with it.
Using cutting fluid helps reduce heat buildup. It also functions as a lubricant so the mill has a cleaner and easier time removing material and keeping it away from the workpiece.
Match the Feed Rate to the Material
There are some good reasons for sticking with the feed rates built into your machine’s settings out of the box. Doing so means you know roughly what to expect. But in setting up your CNC machine for certain kinds of jobs, it might make sense to choose a different feed rate. It might mean shaving a good bit of time off the project’s turnaround.
If you’re machining certain kinds of plastic, such as polyethylene, for example, you may find you can raise the cut depth as well as the feed rate without compromising the quality of the job. Taking off more material each time means making life more difficult for your end mills, so this is another variable that’s perhaps best left to more seasoned CNC machine operators.
Nevertheless, finding the right match between feed rate and material helps workshops and factories cut down on the time required to complete some jobs by multiple hours in some cases. If you’re still not sure which setting to choose, some equipment manufacturers provide charts you can reference for each new job. If that’s still no help, an outside CNC technical consultation could help shed some light on the question and provide you with the knowledge you need to tackle an even wider variety of jobs in the future with confidence.
Choose Different Tools for Roughing and Finishing
If you want the best finish for your workpiece, and you follow just one piece of advice on this list, make it this one. Some machine shops use the same tool for roughing as well as finishing, but this is usually not in your best interests if you want the end result to be a high-fidelity representation of your original design.
Your best bet is to employ separate tools — one for roughing and one for finishing — on separate machine inserts. This should give you the best and most accurate performance.
Whether these tips were new to you or a timely refresher, hopefully now you’re feeling a little more confident in your CNC machine’s settings and setup.
Article by —
Megan Ray Nichols
Freelance Science Writer
nicholsrmegan@gmail.com
www.schooledbyscience.com/about
[gap height=”20″]
